API Key restrictions
So you have generated your key successfully. However, there are still a few other things you need to set up, like security to prevent anyone else misusing your key, as well as setting a budget so that you won't be charged more than you can afford.
Now the API key is generated. To avoid misuse, you need to set in Google APIs.
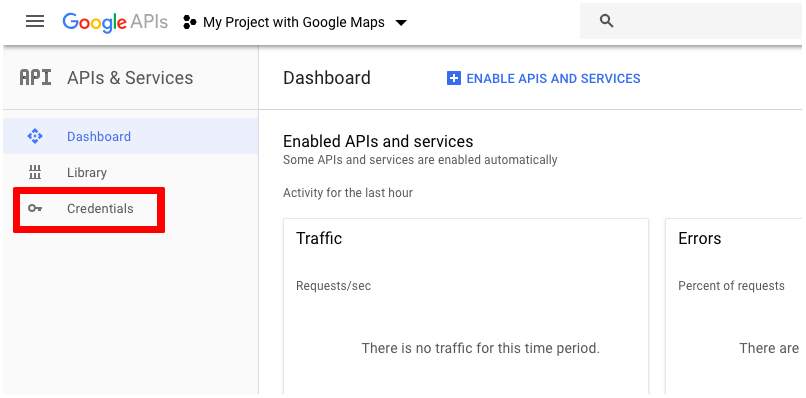
Once inside the site → Click Credentials.

Here you can see the new API key. → Click the pencil icon ![]() to edit it.
to edit it.

Now in the API key settings site, there are some adjustments that need to be done.
Firstly, you need to change the key name - as a general rule, it is named follow the site name or project name
In the Key restrictions you can see 2 tabs:
Application restrictions
Note: If you use this tab, you need adding our app domain: https://sl.storeify.app/*, it is required.
Select the option HTTP referrers (web sites) and enter the website name in the field. Use the format *.example.com/. Any string can replace the asterisk, means that is even for subdomains. Also, you need adding our app domain: https://sl.storeify.app/* or *.storeify.app/* (the example image below)

API restrictions
Choose the services that are enabled for this API key.
→ Click Save
Last updated